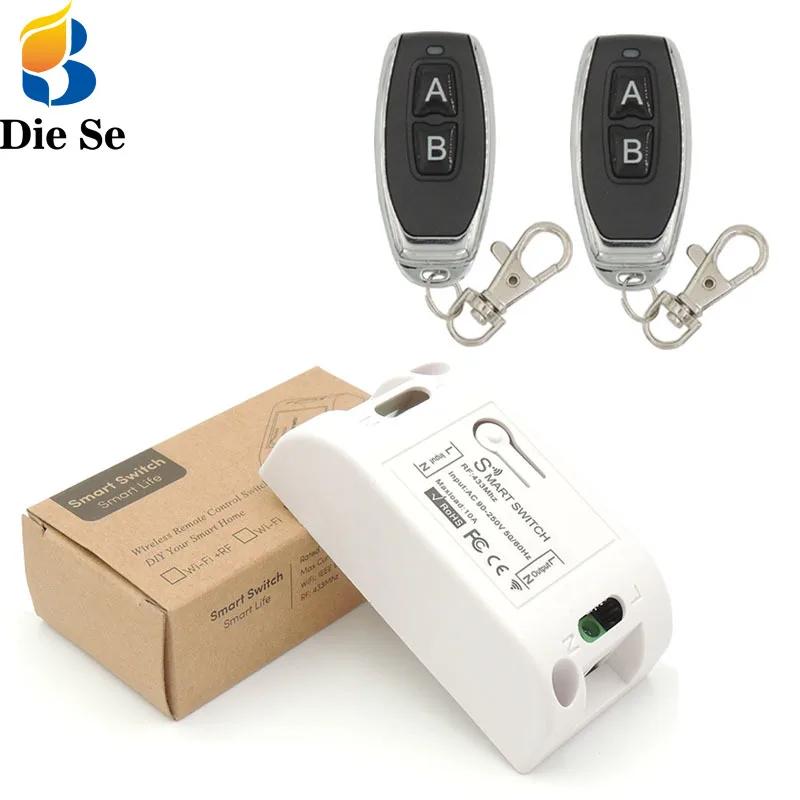
How to learn and encode the remote control of the 4 buttons
(A, B.C.D) and the DC12V 1 channel receiver:
Step 1: Clear the original memory code in the receiver. .
When the learning button on the receiver is pressed 8 times and the LED flashes 5 times, the code will be cleared.
After clearing the code, the entire remote will no longer run.
Step 2: Learn. Match, program 4 button remotes and DC12V 1 channel receiver.
It has 4 modes:
1: instantaneous mode
Press the ldquolearnrdquo button on the receiver once to enter the switch setting mode.
Wait for the LED to light up.
Press the remote control "A" button and the LED on the receiver board will flash and then go out.
Learning. Matching, coding is complete.
Press the ldquoArdquo button on the remote control, the relay is connected (start working), release the ldquoArdquo button on the remote control, and the relay is disconnected (stop working).
2: Self-locking mode:
Press the Learn button on the receiver twice to enter the switch setting mode.
Wait for the LED to light up.
Press the remote control ldquoBrdquo button and the LED on the receiver board will flash and then go out.
Learning. Matching, coding is complete.
Press the remote control "B" button, the relay is connected (start work), then press the remote control "B" button, the relay is disconnected (stop working)
3. Interlock mode:
Press the Learn button on the receiver three times. Enter the switch setting mode.
Wait for the LED to light up.
Press the remote control "C" button and press the remote control "D" button. The LED on the receiver board will flash and then go out.
Learning. Matching, coding is complete.
Press the remote control "C" button, the relay is connected (start work), then press the remote control "D" button, the relay is disconnected (stop working)
4. Delay mode:
Clear the original memory code in the receiver again. .
Press the learning button on the receiver 8 times and the LED flashes 5 times. The code will be cleared.
After clearing the code, the entire remote will no longer run.
a, delay 5 seconds learning method:
Press the Learn button on the receiver four times in a row. When the LED is lit, press the remote control button (A) that you want to pair. The LED on the receiver board flashes three times in succession to indicate learning, matching, and encoding is complete.
Press the A button, the relay is connected (starts work), and after 5 seconds of operation, the relay is disconnected (stops working)
b, delay 10 seconds learning method:
Press the Learn button on the receiver five times in a row. After the LED indicator lights up, press the remote control button (B) to pair. The LED on the receiver board flashes three times in succession to indicate learning, matching, and encoding is complete.
Press the B button, the relay is connected (starts work), then after 10 seconds of operation, the relay is disconnected (stops working)
c, delay 15 seconds learning method:
Press the Learn button on the receiver six times in a row. When the LED is lit, press the remote control (C) button that you want to pair. The LED on the receiver board flashes three times in succession, which means the code has been successfully encoded.
Press the C button, the relay is connected (starts work), and after 15 seconds of operation, the relay is disconnected (stops working)
d, delay 20 seconds learning method:
Press the Learn button on the receiver seven times in a row. When the LED is lit, press the paired remote (D) button. The LED on the receiver board flashes three times in succession to indicate that the code has been successfully encoded.
Press the D button, the relay is connected (starts work), and after 20 seconds of operation, the relay is disconnected (stops working)
Input Power: DC10V-14V
Standby Current: <5MA
RF Frequency: 315M or 433M
RF working mode: superheterodyne
Receive sensitivity: >97dbm
Transmitting distance: 20 meters above
Decoding mode: MCU software decoding
Remote storage: 25 pcs
Support remote type: Learning code, Fixed code(Rolling code can be design)
Working mode: Momentary, Toggle, Latching Time delay (5s ,10s ,15s 20s)
Wiring type: fixed terminal
Output Terminal: NO , NC , COM
Dimension of PCB: 35*30*18mm (L,W,H)
Pin functions:
+V: 12V + input ;
- V: 12V - input ;
NO: Output , normal open;
COM:Output , common ;
NC: Output , normal close;


 배송기간
배송기간